项目上线
连接与基础配置
连接
给服务器注册一个acs用户(可选 直接root用户也行 还更省事)
adduser acs
usermod -aG sudo acs
把祖传配置文件和docker镜像传到服务器
我本地也留了一份 以后不需要去acterminal里拿了
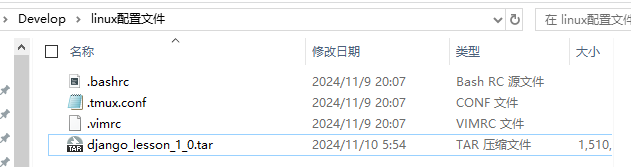
acterminal
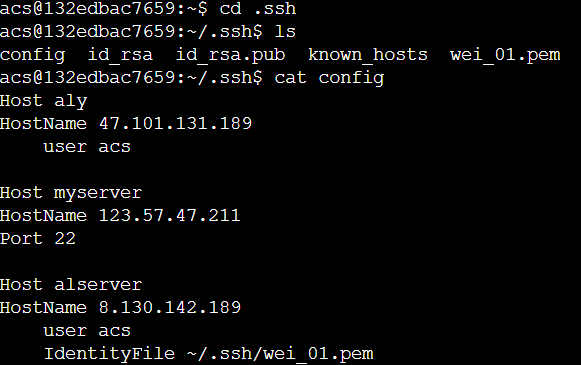

解压挂载容器
myserver
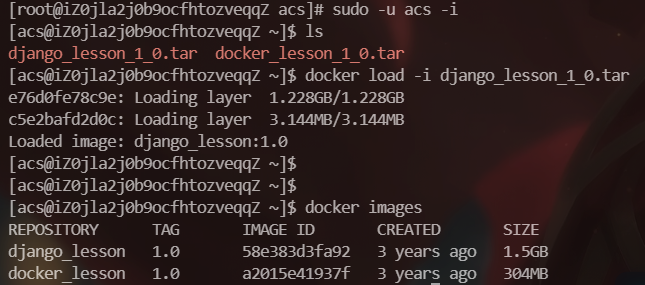
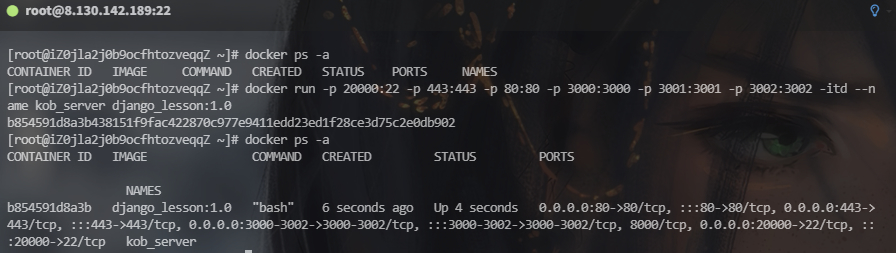
docker run -p 20000:22 -p 443:443 -p 80:80 -p 3000:3000 -p 3001:3001 -p 3002:3002 -itd --name kob_server django_lesson:1.0
(开安全组 20000、80、22、443、8000)
[root@iZ0jla2j0b9ocfhtozveqqZ ~]# docker attach kob_server
root@b854591d8a3b:/# adduser acs
Adding user `acs' ...
Adding new group `acs' (1000) ...
Adding new user `acs' (1000) with group `acs' ...
Creating home directory `/home/acs' ...
Copying files from `/etc/skel' ...
New password:
Retype new password:
passwd: password updated successfully
Changing the user information for acs
Enter the new value, or press ENTER for the default
        Full Name []:
        Room Number []:
        Work Phone []:
        Home Phone []:
        Other []:
Is the information correct? [Y/n] y
root@b854591d8a3b:/# usermod -aG sudo acs

ctrl+p   再 ctrl+q退出
配置免密连接容器
local
Host springboot_server
  HostName 8.130.142.189
  User acs
  Port 20000
  IdentityFile C:\Users\zv041\.ssh\wei_01.pem
ssh springboot_server
mysql
安装:
sudo apt-get update
sudo apt-get install mysql-server
启动:
sudo service mysql start
设置root用户的密码:
sudo mysql -u root
ALTER USER 'root'@'localhost' IDENTIFIED WITH caching_sha2_password BY 'zw200495';
创数据库kob
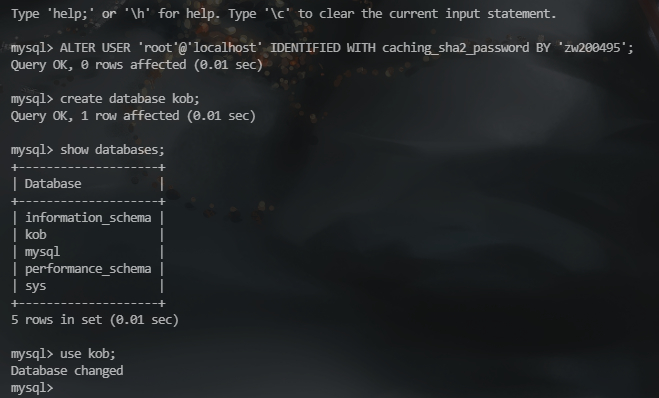
idea将建表命令复制出来
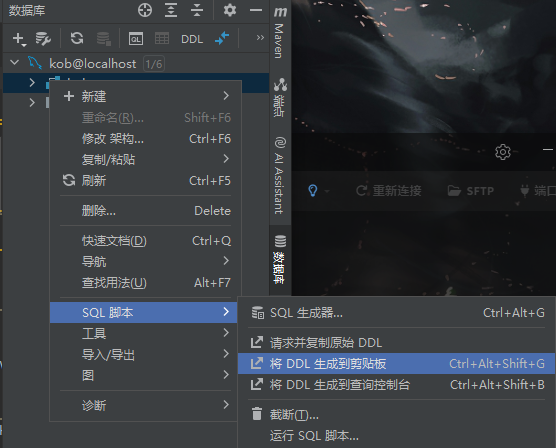
create table bot
(
    id          int auto_increment
        primary key,
    user_id     int                                not null,
    game        varchar(50)                        not null,
    language    varchar(50)                        not null,
    title       varchar(100)                       null,
    description varchar(300)                       null,
    content     varchar(10000)                     null,
    create_time datetime default CURRENT_TIMESTAMP null,
    update_time datetime default CURRENT_TIMESTAMP null on update CURRENT_TIMESTAMP
)
    engine = InnoDB;

create table post
(
    id          int auto_increment
        primary key,
    username    varchar(255)                        not null,
    photo       varchar(255)                        null,
    user_id     int                                 null,
    content     text                                not null,
    create_time timestamp default CURRENT_TIMESTAMP null on update CURRENT_TIMESTAMP
)
    engine = InnoDB;

create table record
(
    id          int auto_increment
        primary key,
    game        varchar(255)                       not null,
    a_id        int                                not null,
    a_sx        int                                not null,
    a_sy        int                                not null,
    b_id        int                                not null,
    b_sx        int                                not null,
    b_sy        int                                not null,
    a_steps     text                               null,
    b_steps     text                               null,
    map         text                               null,
    loser       varchar(255)                       null,
    create_time datetime default CURRENT_TIMESTAMP null
)
    engine = InnoDB;

create table user
(
    id       int auto_increment
        primary key,
    username varchar(100)  not null,
    password varchar(100)  not null,
    photo    varchar(1000) null,
    rating   int default 0 null,
    openid   varchar(255)  null,
    constraint user_pk_2
        unique (id)
)
    engine = InnoDB;
在服务器建一个create_table.sql 把代码粘贴进去 记录文件路径
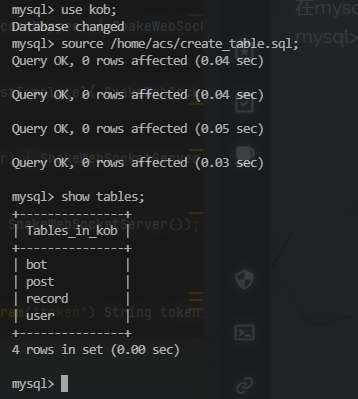
在mysql中用soure执行
mysql> source /home/acs/create_table.sql;
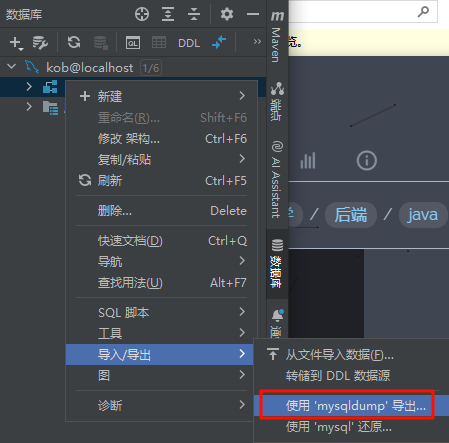
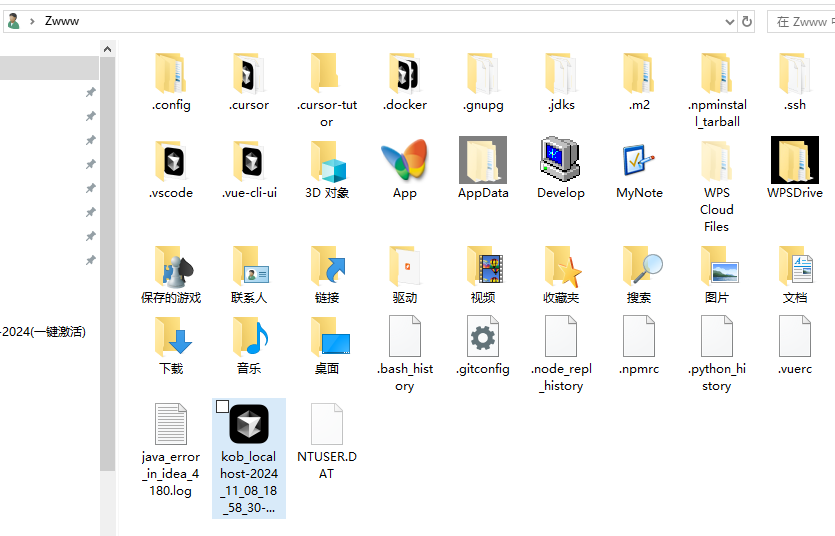
user目录里kob_localhost-2024_11_08_18_58_30-dump.sql
传到服务器
在命令行(不是mysql)中执行
acs@b854591d8a3b:~$ sudo mysql -u root -p kob < /home/acs/kob_localhost-2024_11_08_18_58_30-dump.sql
Enter password:
acs@b854591d8a3b:~$
java环境
根据项目配置下载 这里下java21
sudo apt install openjdk-21-jdk -y
java -version
本地打包项目
打包后端
在打包之前 先修改后端代码 把请求都改成api开头 后面会解释
三个pom.xml中分别添加配置:
说明打包成jar包
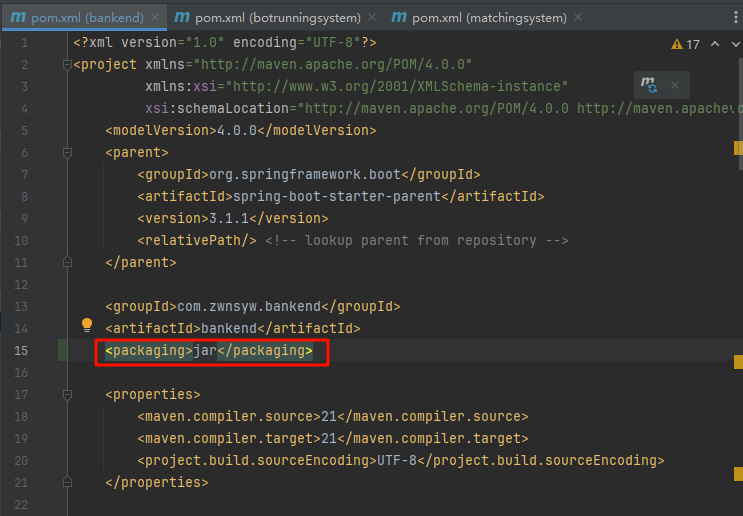
上面的三个都一样 下面的要改成真正的入口 三个都不一样
<build>
   <plugins>
       <plugin>
           <groupId>org.springframework.boot</groupId>
           <artifactId>spring-boot-maven-plugin</artifactId>
           <!--这里写上main方法所在类的路径-->
           <configuration>
               <mainClass>com.zwnsyw.backend.BackendApplication</mainClass>
           </configuration>
           <executions>
               <execution>
                   <goals>
                       <goal>repackage</goal>
                   </goals>
               </execution>
           </executions>
       </plugin>
   </plugins>
</build>
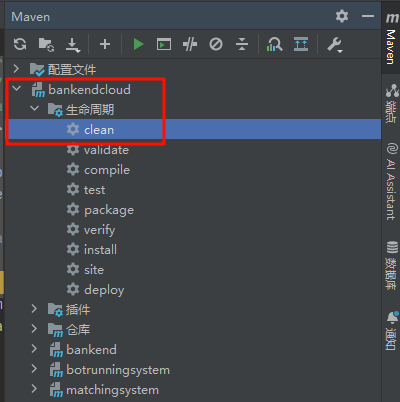
打开maven bankendcloud 生命周期 clean
修改:
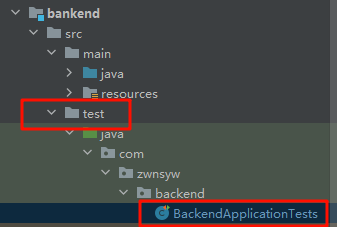
package com.zwnsyw.backend;

import org.junit.jupiter.api.Test;
import org.springframework.boot.test.context.SpringBootTest;
import org.springframework.security.crypto.bcrypt.BCryptPasswordEncoder;
import org.springframework.security.crypto.password.PasswordEncoder;

@SpringBootTest(webEnvironment = SpringBootTest.WebEnvironment.RANDOM_PORT)
class BackendApplicationTests {

	@Test
	void contextLoads() {

	}
}
点package
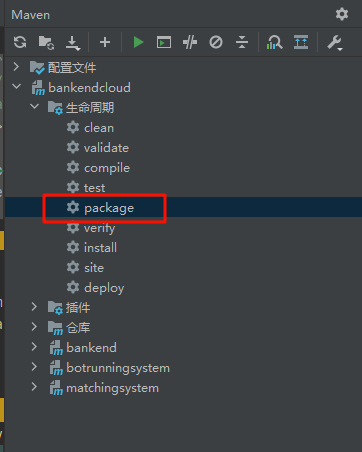
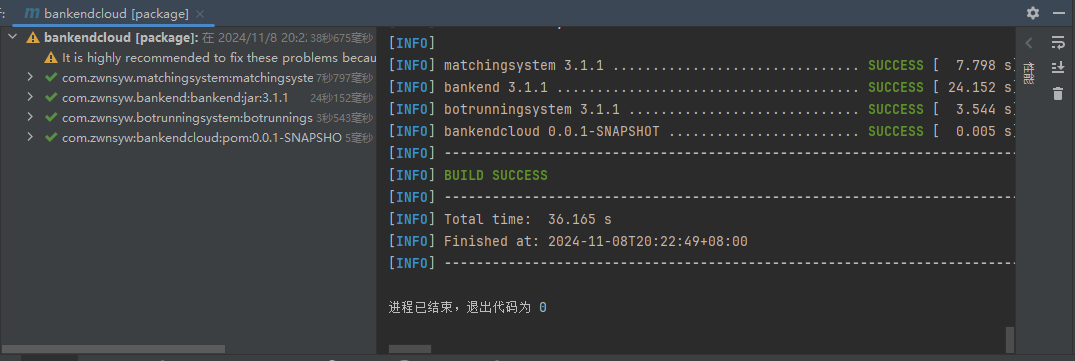
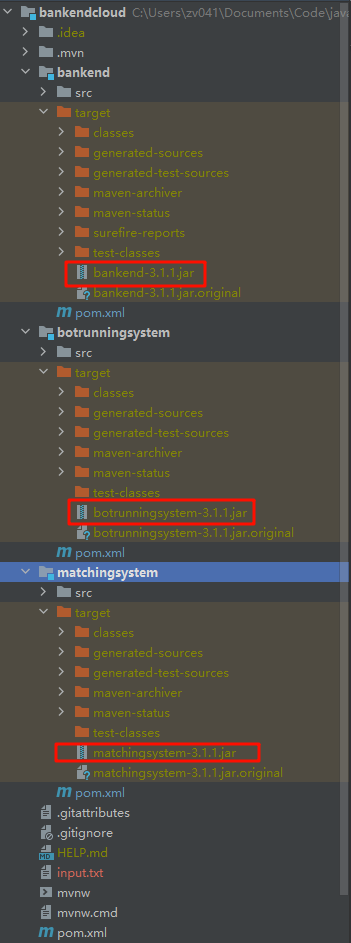
最终的结果在target 中 xxx.jar
包含了整个项目所需的所有东西 (依赖、配置文件、代码)
接下来要做的事情就是把jar包传到云服务器里
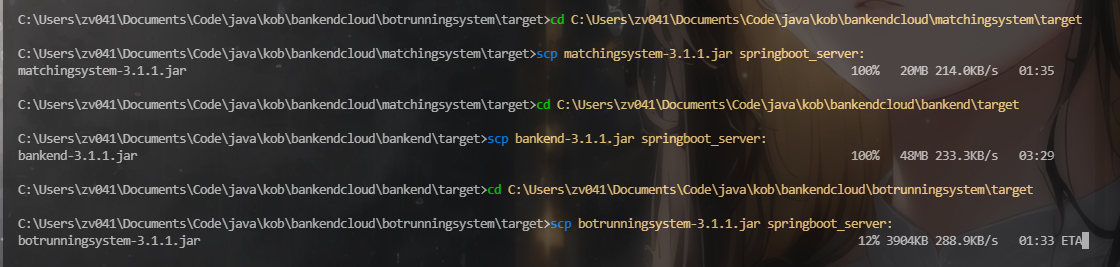
为方便管理 在容器中建好文件夹
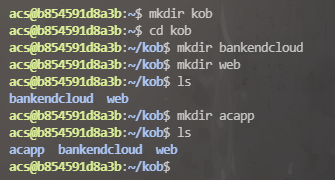
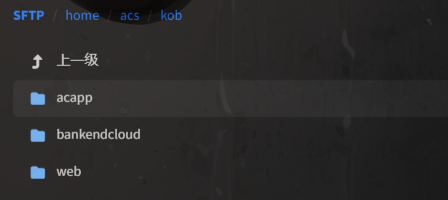
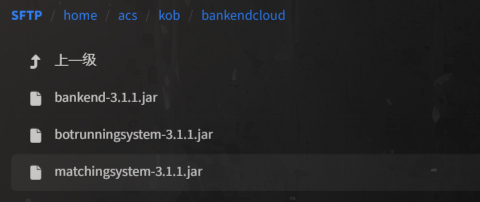
把jar包移到bankendcloud
acs@b854591d8a3b:~/kob$ cd bankendcloud/
acs@b854591d8a3b:~/kob/bankendcloud$ cp ~/*.jar .
acs@b854591d8a3b:~/kob/bankendcloud$ ls
bankend-3.1.1.jar  botrunningsystem-3.1.1.jar  matchingsystem-3.1.1.jar
acs@b854591d8a3b:~/kob/bankendcloud$
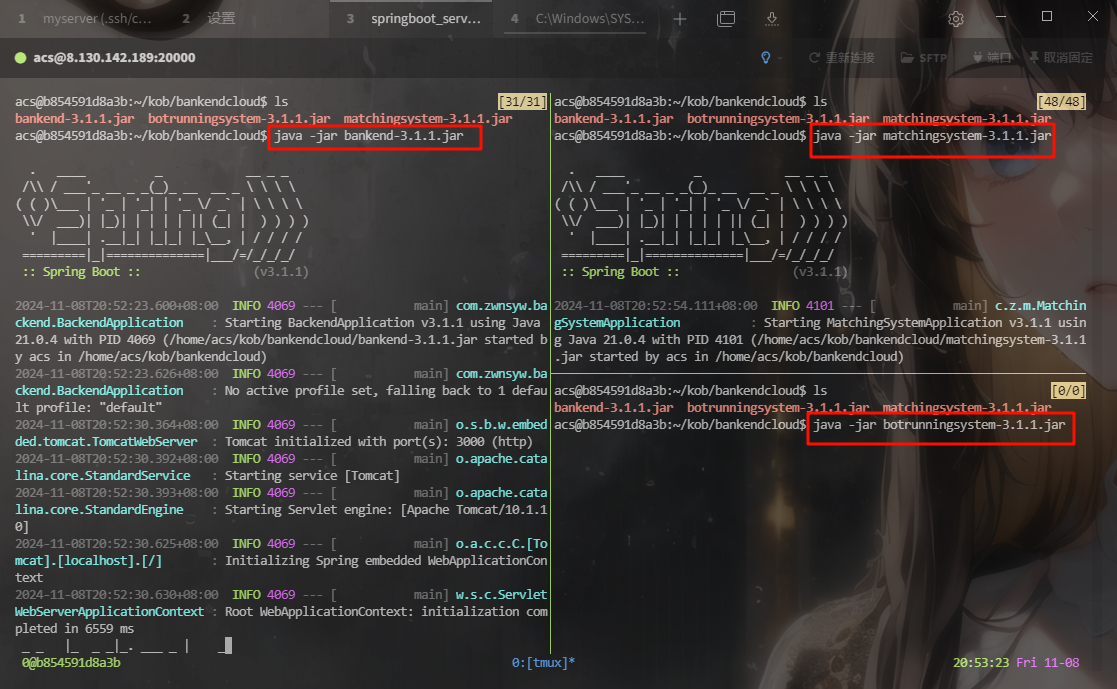
tmux打开三个终端
使用java -jar 分别执行三个jar包
配置nginx.conf
/etc/nginx/nginx.conf
user www-data;
worker_processes auto;
pid /run/nginx.pid;
include /etc/nginx/modules-enabled/*.conf;

events {
    worker_connections 768;
    # multi_accept on;
}

http {

    sendfile on;
    tcp_nopush on;
    tcp_nodelay on;
    keepalive_timeout 65;
    types_hash_max_size 2048;

    include /etc/nginx/mime.types;
    default_type application/octet-stream;

    access_log /var/log/nginx/access.log;
    error_log /var/log/nginx/error.log;

    gzip on;

    include /etc/nginx/conf.d/*.conf;
    include /etc/nginx/sites-enabled/*;

    # 监听HTTP 80端口的请求
    server {
        listen 80;
        server_name www.zwnsyw.top;

        # 将API请求代理到本地3000端口的服务
        location /api {
            proxy_pass http://127.0.0.1:3000;
        }

        # WebSocket代理配置
        location /websocket {
            proxy_pass http://127.0.0.1:3000;
            proxy_set_header X-Real-IP $remote_addr;
            proxy_set_header Host $http_host;
            proxy_set_header X-Forwarded-For $proxy_add_x_forwarded_for;

            proxy_http_version 1.1;
            proxy_set_header Upgrade $http_upgrade;
            proxy_set_header Connection "upgrade";
            proxy_read_timeout  36000s;
        }

        # 默认根路径设置
        location / {
            root /home/acs/kob/web;
            index index.html;
            try_files $uri $uri/ /index.html;
        }
    }
}
解释:
如果是api开头的请求 就会保留到springboot项目
如果是websocket开头的 也会保留在springboot项目
而如果是/开头的 就会保留到前端项目
所以后端的请求要给它改成api开头
注意 location / {
root /home/acs/kob/web;
千万别放在root目录下 不然nginx无权访问
执行
root@b854591d8a3b:/etc/nginx# /etc/init.d/nginx start
 * Starting nginx nginx                                              [ OK ]
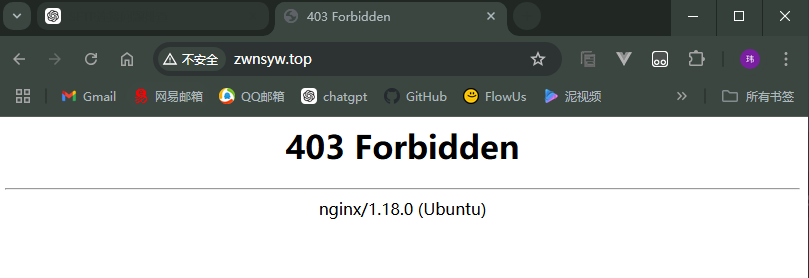
打开网页输入域名能看到403就是成功了(需要在阿里云把域名解析)
打包前端
对应修改所有与后端接口的api
注意 一定别用localhost 后端与后端的交互就全用127.0.0.1
前端与后端的交互(客户端传来的请求) 全都用域名替换127.0.0.1
因为没配置证书 所以无需修改http和ws为https和wss
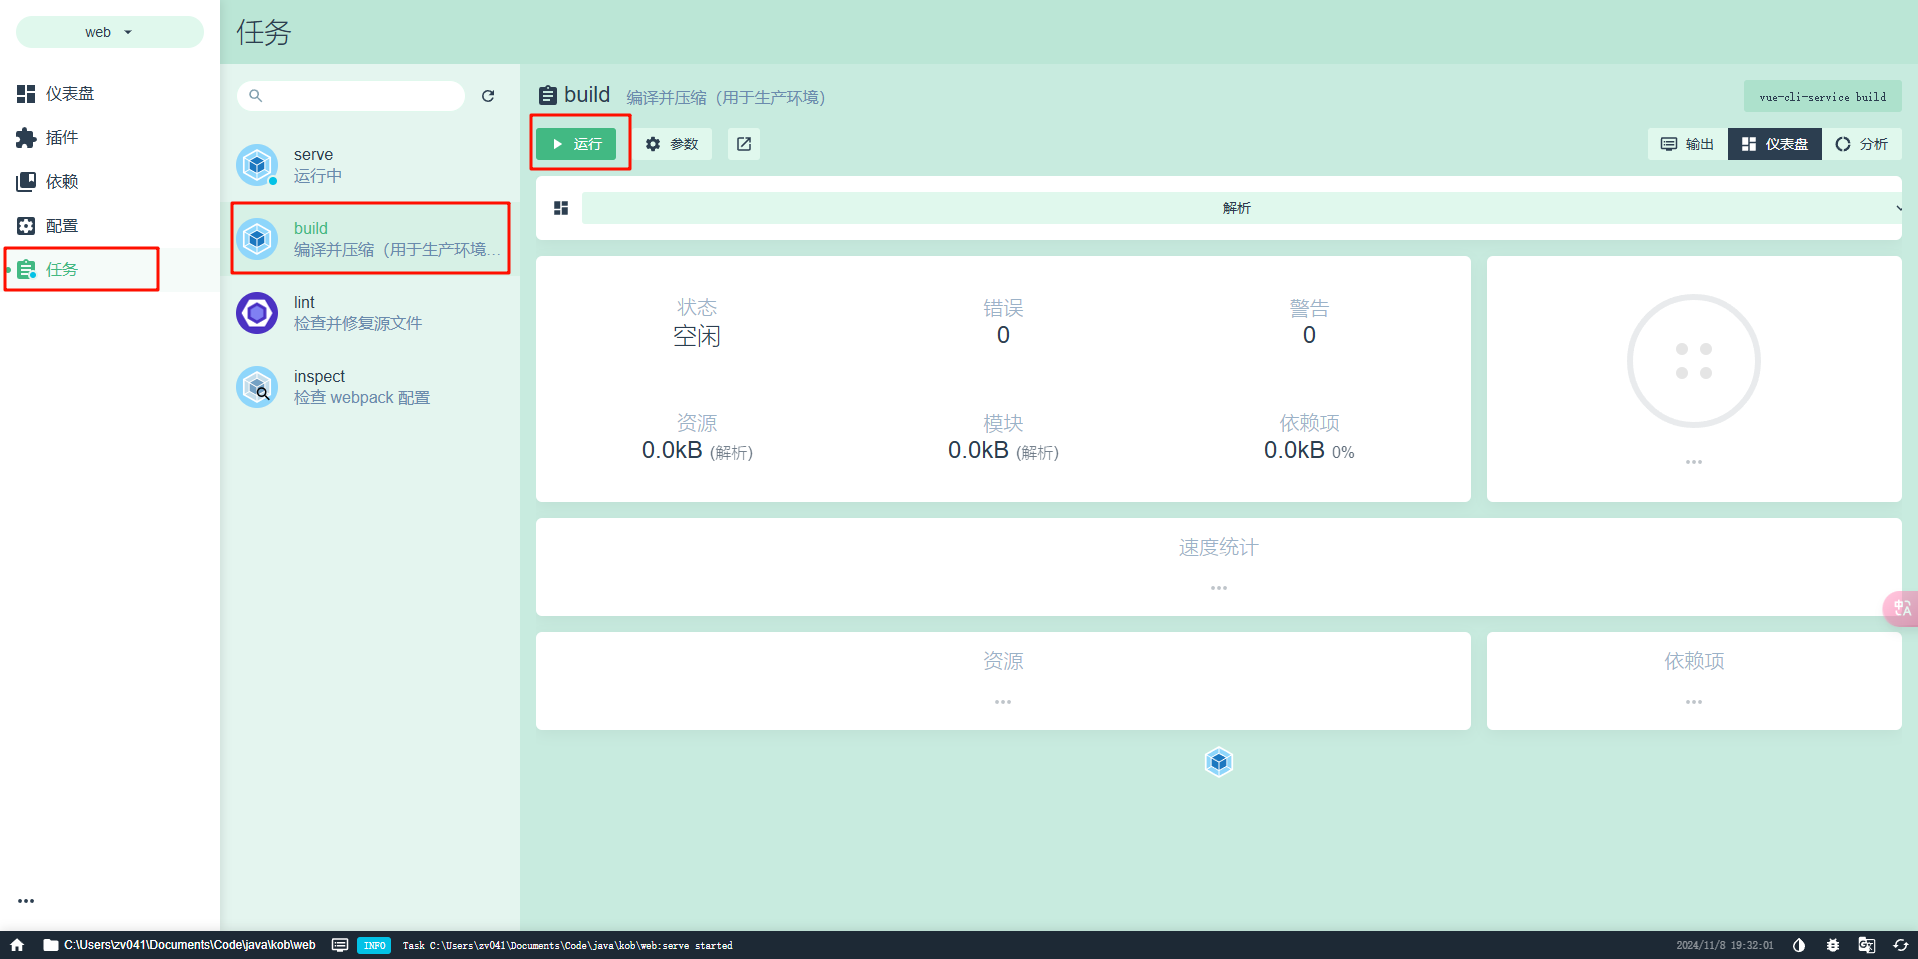
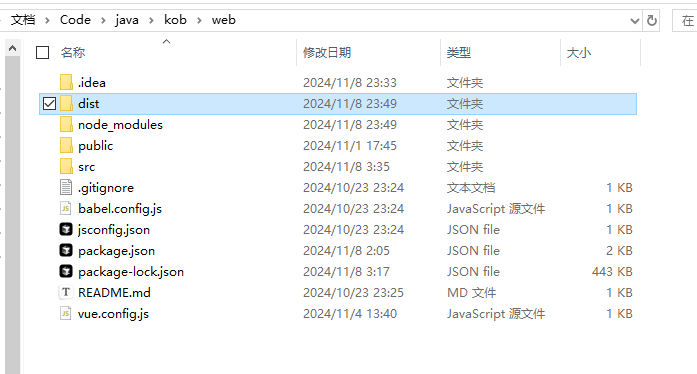
得到一个dist文件夹 整个传到服务器上去
scp -r dist springboot_server:kob/web/
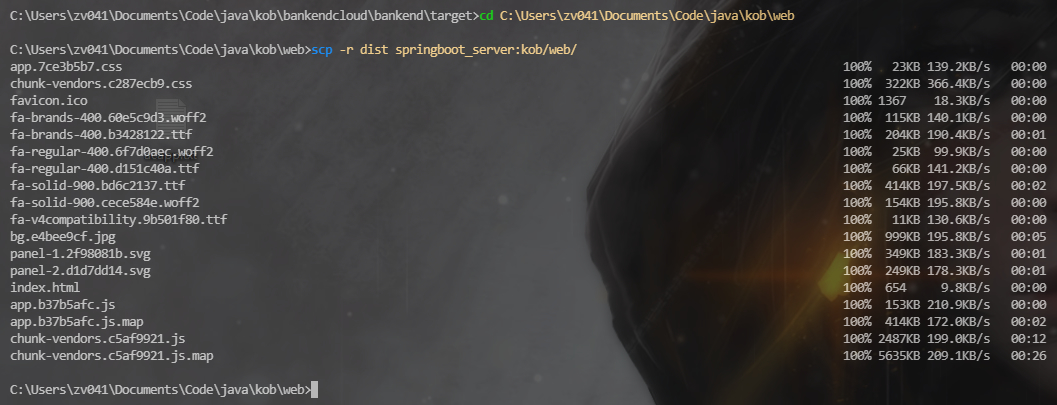
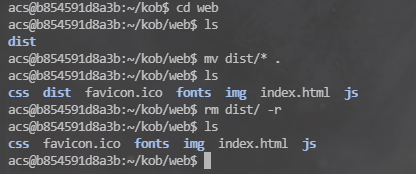
上传到服务器后需要把dist里面的全都拿到外面去(web下)

mv dist/* .
无端口冲突的话 不出意外就能成功访问了
备份成功版本
取出当前成功部署的版本
熟悉docker镜像的用法
[root@iZ0jla2j0b9ocfhtozveqqZ ~]# docker ps
CONTAINER ID   IMAGE               COMMAND   CREATED       STATUS       PORTS                                                                                                                                                                                        NAMES
b854591d8a3b   django_lesson:1.0   "bash"    8 hours ago   Up 7 hours   0.0.0.0:80->80/tcp, :::80->80/tcp, 0.0.0.0:443->443/tcp, :::443->443/tcp, 0.0.0.0:3000-3002->3000-3002/tcp, :::3000-3002->3000-3002/tcp, 8000/tcp, 0.0.0.0:20000->22/tcp, :::20000->22/tcp   kob_server

[root@iZ0jla2j0b9ocfhtozveqqZ ~]# docker commit b854591d8a3b kob_server_image:v1.0
sha256:a3c8029777d5e846d9aabf375c805508da8bb977009037ac2df84d02bcec5522
[root@iZ0jla2j0b9ocfhtozveqqZ ~]# docker images
REPOSITORY         TAG       IMAGE ID       CREATED          SIZE
kob_server_image   v1.0      a3c8029777d5   22 seconds ago   2.92GB
django_lesson      1.0       58e383d3fa92   3 years ago      1.5GB
docker_lesson      1.0       a2015e41937f   3 years ago      304MB

[root@iZ0jla2j0b9ocfhtozveqqZ ~]# docker save -o kob_server_image_v1.0.tar kob_server_image:v1.0

[root@iZ0jla2j0b9ocfhtozveqqZ ~]# ls
install.sh  kob_server_image_v1.0.tar  readme.txt  thrift_lesson  welcome.sh
项目分区导航: 微服务-匹配逻辑细化 ⬅️ | 00-项目上线 | ➡️ 都24年了还有人不懂docker吗?一问 - 编程导航 - 程序员编程学习交流社区
💬 评论